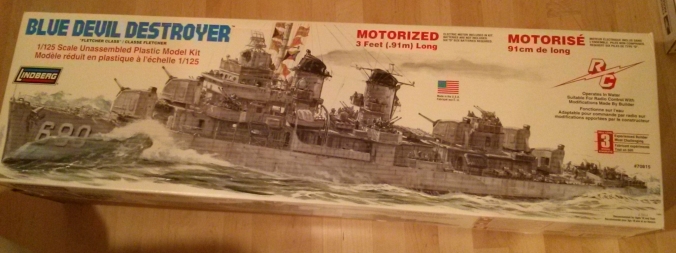
The name of the kit is “Blue Devil Destroyer”, but the prototypical ship is the USS Melvin, a Fletcher class destroyer of WW2 vintage. Wiki says that 175 Fletchers were built, and that the design was “generally regarded as highly successful”. Many also served with other countries after being retired from the US Navy.
I’m all about chasing my childhood dreams these days, and when I was a kid, I really wanted something like this. I was really into plastic modeling even though I sucked at it, and that really didn’t help me get a nice or RC model. Said hobby was of course the source of my Titanic hull, which became my latest “nice RC model” attempt in 2011.
That satisfied my craving for a while, but while we were working on some Lego trains, we went to a Pho place for dinner and stopped by a real hobby shop(!) on the way. I was telling J how I would love to have another ship to RC, and we looked at some small stuff, but that’s when I saw this kit. If I didn’t get it then, I probably would not think about it for a long time given the dwindling number of hobby shops in the world. So I told J I was going to get it, and the next day I did.
It was actually somewhat cheaper online, but I’m trying to support the only local hobby shop in a bazillion mile radius.
The kit is apparently a reprint (and here I thought only books get reprinted) of a 60s model. It’s also very big and quite historically inaccurate. I’ll consider these features rather than bugs, though: an RC ship should be substantial if you’re going to sail on anything other than smooth water, and I’m not by any means a “serious” modeler. Nor did I have any idea what I was doing going into this.
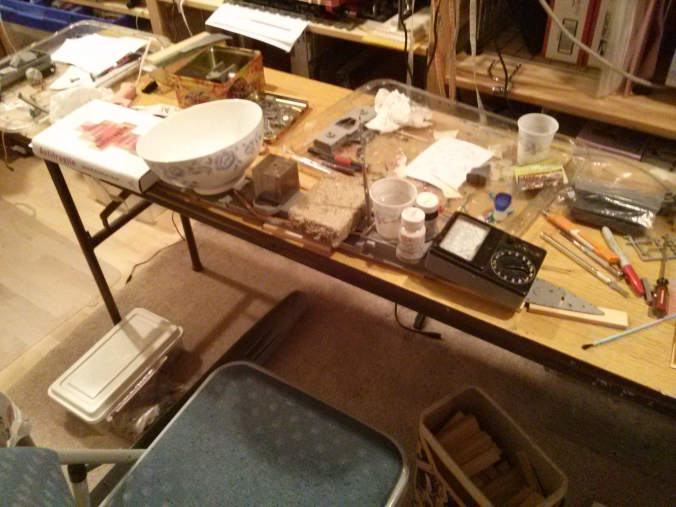
This is a part one because the model part isn’t actually done yet. My big takeaway so far is that plastic modeling is about two things: making parts fit that don’t want to fit, and making parts stick that don’t want to stick. Both involve tediously scraping away lots of fluff (material and paint) with a hobby knife or whatnot.
J and I had this thing about whether you should paint the parts before or after assembly, and like all these questions, the answer isn’t clear cut. I think that with some larger assemblies where good adhesion is more critical, assembling before painting makes a lot of sense. For smaller details with multiple parts in multiple colors, painting before assembling makes more sense. Also, my Testors model cement is amazing in a plastic to plastic setting, but sucks in a paint to paint or paint to plastic situation, hence all the scraping and stuff.
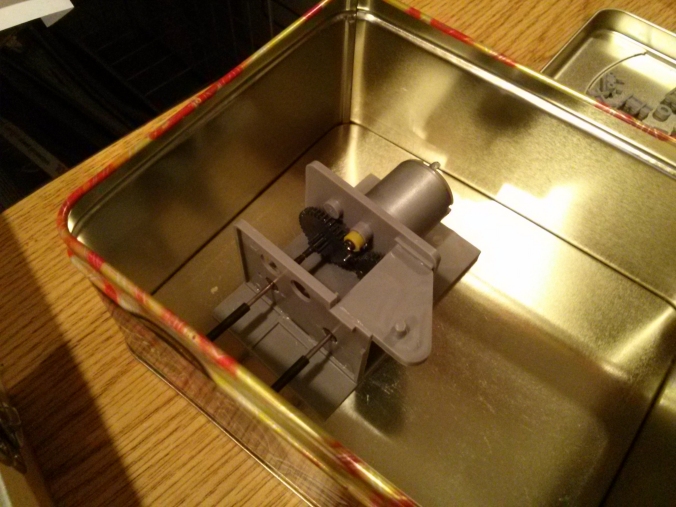
But that’s my fault for not knowing what I was doing. My big beef with the actual kit so far is that the included drive train is a piece of crap. Everything static is glued together, everything moving has to be press fit, and none of the press fits are snug. Everything is plastic except for the axles. I expanded and stuffed a lot of press-fits with my drill and heat shrink tubing.
In short: this is not a Tamiya gearbox.
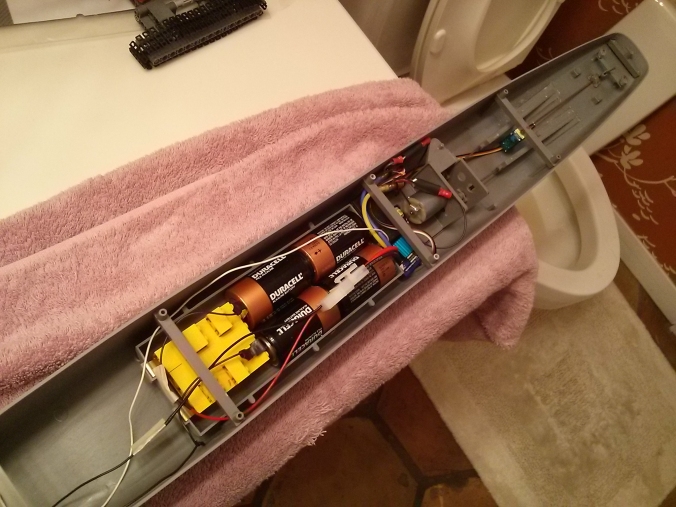
To make matters worse (for RC at least), the twin props are geared down about 1:4. There is a dual-motor-no-gearbox config, but only two motors of the same apparent make and model wouldn’t spin at the same speed, and I didn’t want uneven thrust. The 1:4 setup with the the stock motor running at 6v produces an abysmal amount of thrust: I was seeing about 2-3 seconds per yard during the first pool test, which is 2-3 times slower than Titanic was.
(I was testing at 6v, but the model was apparently intended to be run at 4.5v, which would have been very, very slow. That being said, J has brought it to my attention that running at 4.5v probably produces something close to the proper scale speed of about 45mph)
The steering is very good though. It’s nice to have a proper rudder assembly, which Titanic never had. I had to buy a new servo, but it was cheap and it works.
Next time more on modeling and performance!